Education Center
Here to Help. Always.
Get a FREE Brake Check + 50% off Brake Pads with service!
Plus save up to $120 off Vredestein tires and MORE with rebates!
Book Online!

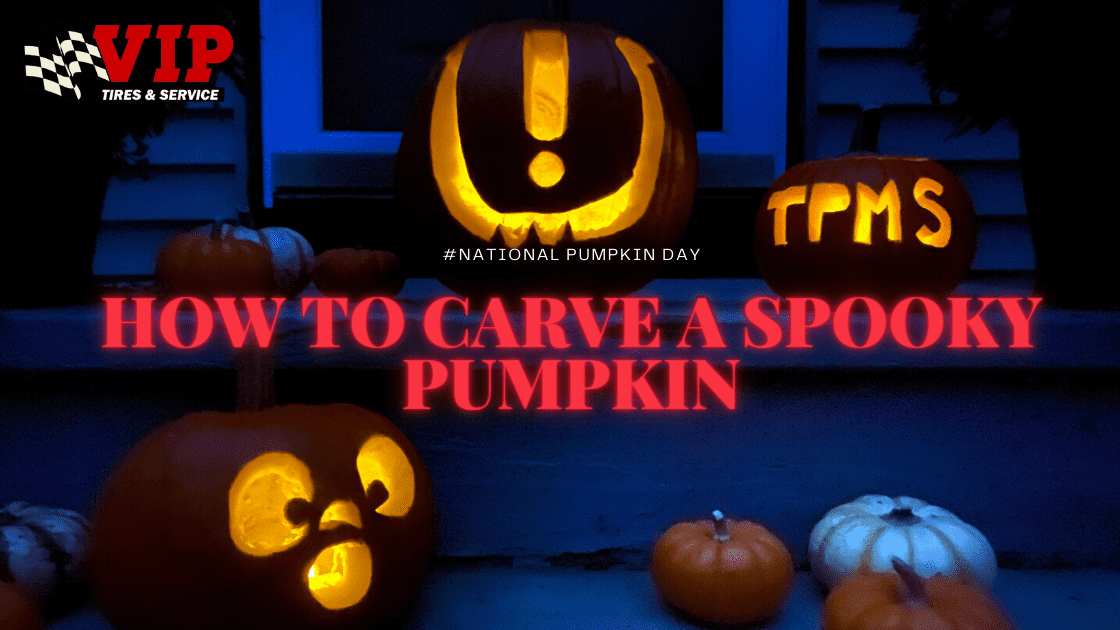
Picture this… you’re driving on the twisting, turning back roads of New England. The sun is setting behind you as you  race across the countryside. The autumn leaves are falling around you. Your vision begins to reduce to just the two headlights in front of you. The radio suddenly cuts out, and there’s only silence until ‘DING!’ that dreaded noise – the sound of your car telling you something’s wrong. You glance down at your dash, hoping that it’s nothing, a trick, or maybe you imagined it… Until you see that dreaded TPMS light illuminated in the dark!
There’s nothing more horrifying and nightmare inspiring than being alone on a dark road with a flat tire! Just as it has inspired horror writers in the past, it inspired us to create a spooky Halloween jack-o-lantern with one of the scariest symbols we can think of – your TPMS light!
October 26th is National Pumpkin Day! We’re going to break down step by step how you can have your own spooky TPMS jack-o-lantern yourself just in time for Halloween!
Step 1 – Buy a pumpkin (or pumpkins!) Be sure to check them over and make sure they don’t have any soft spots or other issues that might make them not last all the way to Halloween.
Step 2 – Choose your favorite spooky templates! We’ve even provided a couple of the scariest things we can think of below!
Step 3 – Make sure you have all of the proper tools you’ll need to cut, scoop, and decorate your pumpkin. You can go  old-school with a Sharpie, kitchen knives, and wooden spoons or you can invest in a pumpkin carving kit from a store like Walmart or Target.
Step 4 – Transfer your template to your pumpkin by either taping or drawing using a Sharpie or other marker on your pumpkin.
Step 5 – Start cutting your pumpkin! Be sure you have your parent’s permission or adult supervision when using the sharp knives to cut your pumpkin.
Step 6 – Once you’ve completely carved your jack-o-lantern consider ways to preserve it if you’ve carved it before Halloween. There are many ways to preserve your pumpkin, but you can find a couple of ideas here. IMPORTANT NOTE: if you have furry friends who visit your yard like squirrels, chipmunks or birds consider not adding bleach to the water to preserve and instead only use vinegar. Critters love pumpkins and can clean up for you after Halloween, but bleach can be harmful to them.
Step 7 – Insert your candles or battery-operated tea lights into your pumpkin to light them up when the sunsets! If you plan on displaying your pumpkins more than once then it’s best to use battery-operated tea lights as heat can shorten the life of your pumpkin.
Step 8 – Marvel at your creative and spooky skills!

When it comes to scary symbols, we’re sure you might find ghosts and goblins a little scarier, but for us, there’s nothing more frightening than a TPMS light, Check Engine Light, and a Battery Maintenance light! For those of you who are like us and find those things terrifying, we’ve included a couple of templates for your pumpkins!
We want to see your spooky pumpkins! Share your scary jack-o-lanterns on our social media channels: Facebook, Twitter, and Instagram! Happy Halloween!
Read More
Read More
Read More
Read More
Be the first to know about deals, rebates, and more!
Log in or Create an account to save vehicles and more.
 All-Season
 All-Weather
 All-Terrain
 Winter
All-Season tires are versatile and suitable for warm and cool climates, but not recommended for extreme hot or cold weather conditions because of specific rubber components.
Like their name suggests, all-weather tires are versatile and can perform well in a variety of weather conditions and can be severe snow-rated.
With bigger treads than traditional all-season tires, all-terrain tires allow for both on and off-roading capabilities.
Winter tires are manufactured to perform well in snow, ice, sleet and other cold weather conditions. Winter tires are typically soft, with an intricate grooved tread pattern — made for holding compacted snow and creating traction — and are severe snow-rated.